


5 Steps On How To Do Nails At Home

Step 1: Purchase A Nail Kit

This is probably the most important step because without the proper tools, doing your nails at home will be difficult (and potentially dangerous); nails are not something you want to skimp on.
When choosing a nail kit, make sure to select one that includes all of the essential tools, such as nail clippers, cuticle pushers, and emery boards, as well as a variety of nail polishes in different colors.
You may also want to consider purchasing a kit that comes with a few extra products, like cuticle oil or hand cream, to make your manicure even more pampering.
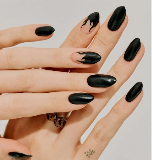
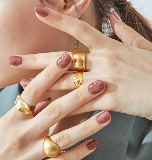
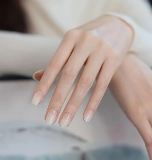
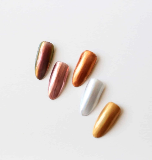
Step 2: Choosing A Color

If you're unsure what color you want, start narrowing your options. Do you want a light or dark color? A cool or warm tone? A glossy or matte finish? Once you've decided on a general direction, picking out the perfect shade will be easier. Here are some other things you should consider:
Consider your skin tone when choosing a nail polish color: If you have a fair complexion, you might want to avoid dark nail colors like black or deep red. Instead, opt for lighter shades like pink or nude.
Think about the season: Spring and summer are typically associated with brighter colors, so if it's currently that time of year, go ahead and experiment with some fun shades! Otherwise, stick to more subdued tones for fall and winter.
Choose a color that compliments your outfits: If you're wearing a brightly colored dress, you might want to tone down your nails with a neutral color. On the other hand, if you're going for a more casual look, feel free to experiment with bolder hues!
Step 3: Prep Your Nails
Once you've gotten your nail kit and selected the perfect nail polish color, it's time to get started on your nails:
Always start with clean nails. Make sure to remove any old nail polish and dirt from your nails before you begin painting. If you also have not done this before, we will leave a guide below. It guides you on how to clean your nails properly.
After cleaning, file your nails evenly into the shape you desire. You don't want one looking longer or shorter than the other; it makes it look unkempt.
Now that you have properly cleaned your nails, another thing you might like to do before applying nail polish would be to use a nail separator. It isn't necessary, but we find it useful to prevent nails from touching while you are applying, and for a beginner, you should start with that till you get the hang of it.
Step 4: Apply The polish
Now, it is time to apply the polish.
First, apply a base coat before painting your nails. The base coat will help the nail polish color more evenly and prevent your nails from getting stained.
Once the base color is dry, it's time to apply the nail polish color! Start by painting the nails on your dominant hand first. Then, once you've finished with those nails, move on to your other hand.
When applying the nail color, start in the middle of the nail and then brush outwards towards the edges. Do not paint too close to the cuticles, as this can cause the polish to chip more easily.
Be sure to paint in thin layers so that the polish doesn't get too thick. You can always add another layer if you need more coverage.
Once you've applied two coats of color (allowing each coat to dry in between), finish with a top coat for extra shine and protection. It would also make your manicure or pedicure last longer. Take note not to get any polish on your skin. If you do, quickly wipe it away with a cotton swab dipped in nail polish remover.
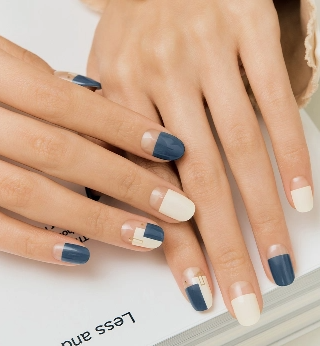
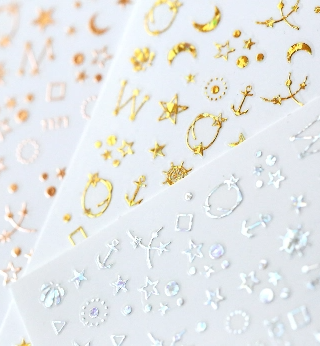
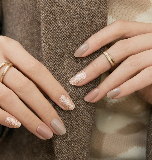
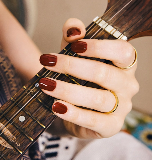
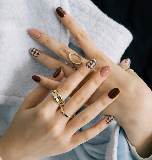
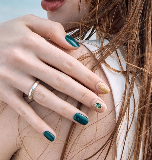
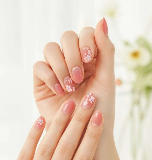
Step Five: Decorate Your Nails (Optional)
Now that you've applied the base color and top coat, you can optionally decorate your nails with designs. If you choose to do this step, have fun and be creative! There are endless possibilities when it comes to nail art.
One popular design is the French manicure. To achieve this look, paint your nails with a light-colored polish. Once the polish has dried, use a striping brush or toothpick to apply a darker color along your nail tips.
Another easy design is polka dots:
- Apply your favorite color as a base
- Then use a different color to create dots on top.
- You can make the dots as big or small as you'd like!
If you want something a bit more challenging, try a gradient design
- Start with two colors that you want to blend.
- Apply the first color to your nails, then use a makeup sponge to dab the second color on top lightly.
- The colors will blend and create a gradient effect!
Once you're finished with your nails, it's time to admire them and show them off to the world! Now that you know how to do nails at home by yourself, put these tips into practice and enjoy beautiful nails all year long! And that's it! You're now ready to show off your fabulous DIY nails! Just remember to take breaks every few days to give your nails a chance to rest and breathe.
Quickly, let's do a recap on the things you would need for your perfect nails
- Nail kit (inclusive of nail cutter, cuticle nail pusher, cuticle nipper, nail file
- Nail polish (A base coat polish and the colors of your choice)
- A nail separator
- Cotton balls/swabs
- Nail Remover
Want Acrylic Nails?
If you want something more durable, you can opt for acrylic nails. Though it is a bit pricier, it will save you a lot of time and effort in the long run. Here's how to do your own acrylic nails at home. What You'll Need:- Acrylic nails
- An acrylic nail kit ( This usually comes with a variety of acrylic tip sizes)
- Nail glue
- Nail file
- Cuticle pusher
- Manicure stick
- Acrylic brush
- Liquid monomer
- Powder polymer
- Top coat polish
How To Clean Your Nails
Hey are four ways to clean your nails:
1. Wash your hands: Dish soaps can be used to clean your hands and nails. These soaps are designed to remove grease and may help reduce grease and oil build-up under the nails.
2. Use A Cuticle Stick: We also recommend using a cuticle stick to remove any dirt or debris that may be under your nails.
3. Warm Water: Add some warm water to a bowl and soak your nails in it for about five minutes. This will help soften the nails and make it easier to remove the dirt from under them.
4. Use a toothbrush: You can also use a toothbrush to clean under your nails. Just make sure the brush is soft, so it doesn't damage your nails.
How To Take Care Of Your Nails
Keep Your Nails Clean: First, it's important to keep your nails clean. This means washing your hands regularly and using a nail brush to remove any dirt or debris from underneath your nails. You should also trim your nails regularly to prevent them from getting too long.
Moisturize Your Nails: Another important way to take care of your nails is to moisturize them. You can do this by using a hand cream or cuticle oil on a regular basis. This will help keep your nails hydrated and prevent them from becoming dry and brittle.
Protect Your Nails: It's also important to protect your nail beds from damage. This means avoiding activities that can harm your nails, such as typing on a keyboard or opening cans with your hands. In addition, you should wear gloves when you're doing chores around the house or working in the garden.
Eat healthy: Eating a healthy diet is good for your nails, as well as the rest of your body. Make sure to include plenty of fruits, vegetables, and whole grains in your diet. Also, try to limit your intake of sugary drinks and snacks.
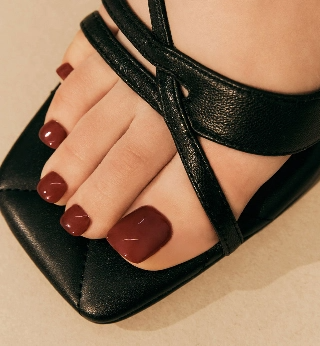
Need Awesome Nail Designs? Shop Gellydrops
GellyDrops is a store that offers more than 230 designs! Our goal is to offer the most diverse and inclusive selection of semi-cured gel nail art on the market. We have the quickest turnaround with gellies shipping from our Los Angeles warehouse and delivered in 1-3 days in the USA. We also have a dedicated customer service team to help answer all your questions.
How To Do Nails At Home - Botton Line
That's it! You now know how to do nails at home by yourself. Just remember to take breaks every few days to give your nails a chance to rest and breathe. With these tips, you'll be able to create beautiful nails all year long! And if you're looking for some awesome nail designs, be sure to check out GellyDrops. We have the largest selection of semi-cured gel nail art on the market! Thank you for reading and we hope this was helpful. Until next time!